# Table-view Databases
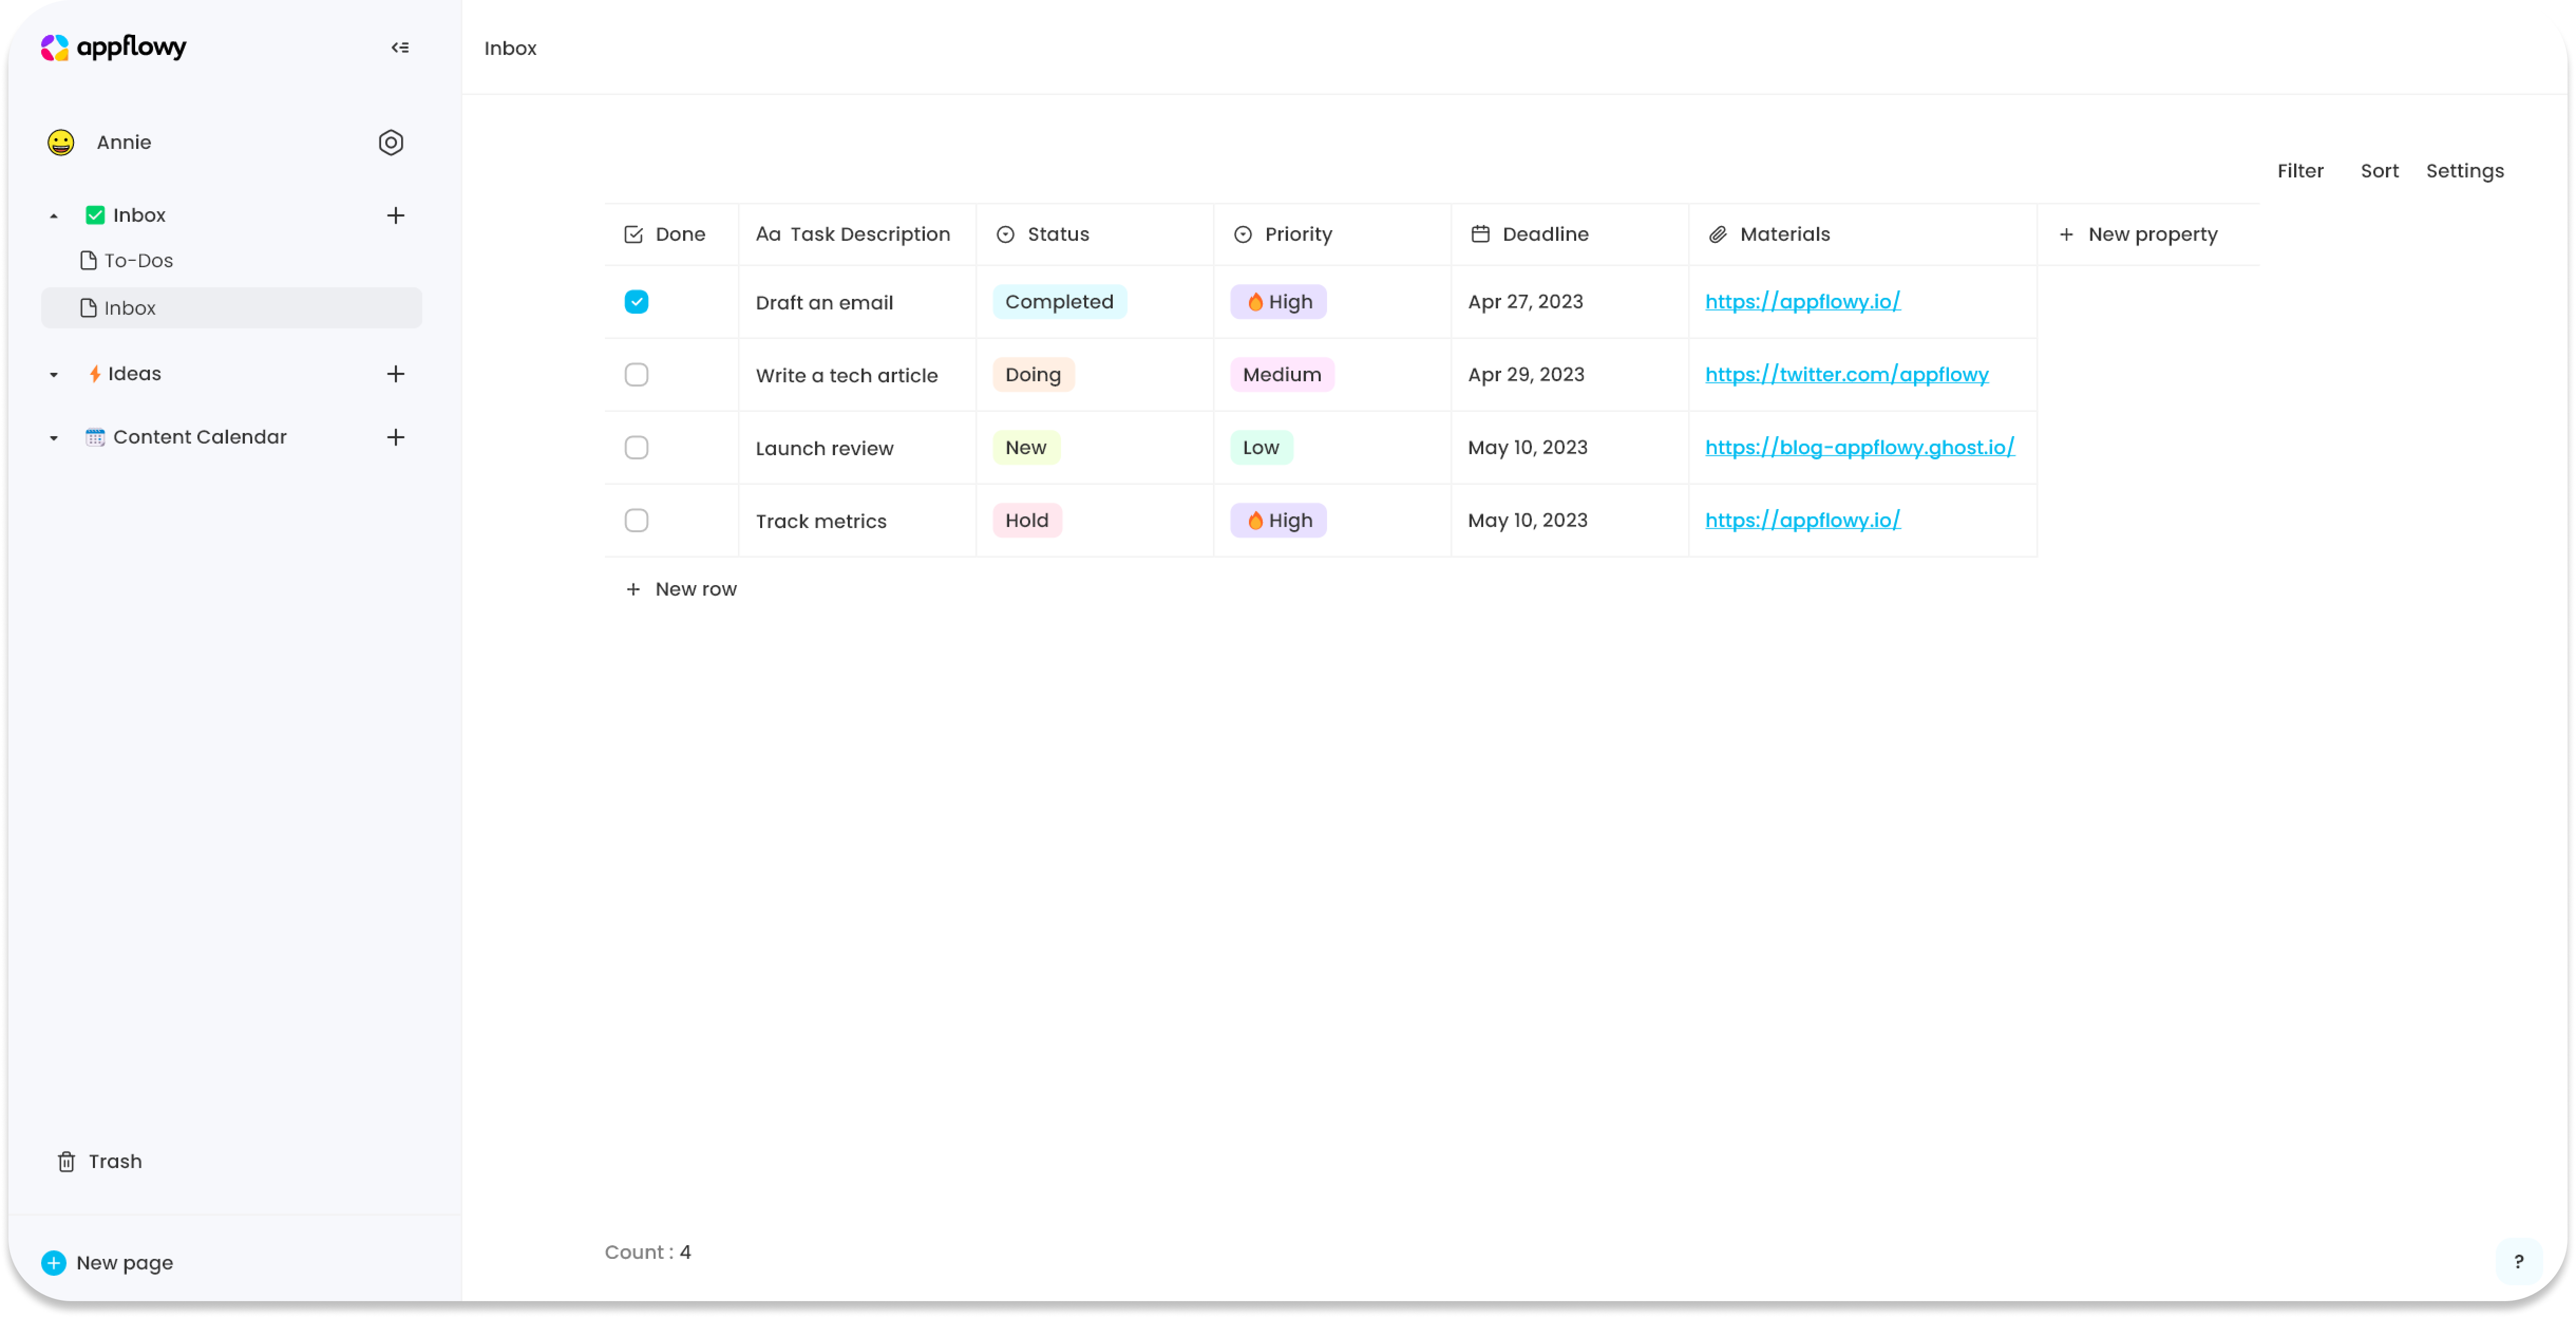
A table-view database is also called a Grid. It looks like a classic table but can do more than just rows and columns.
## Create a database in table view
There are two ways:
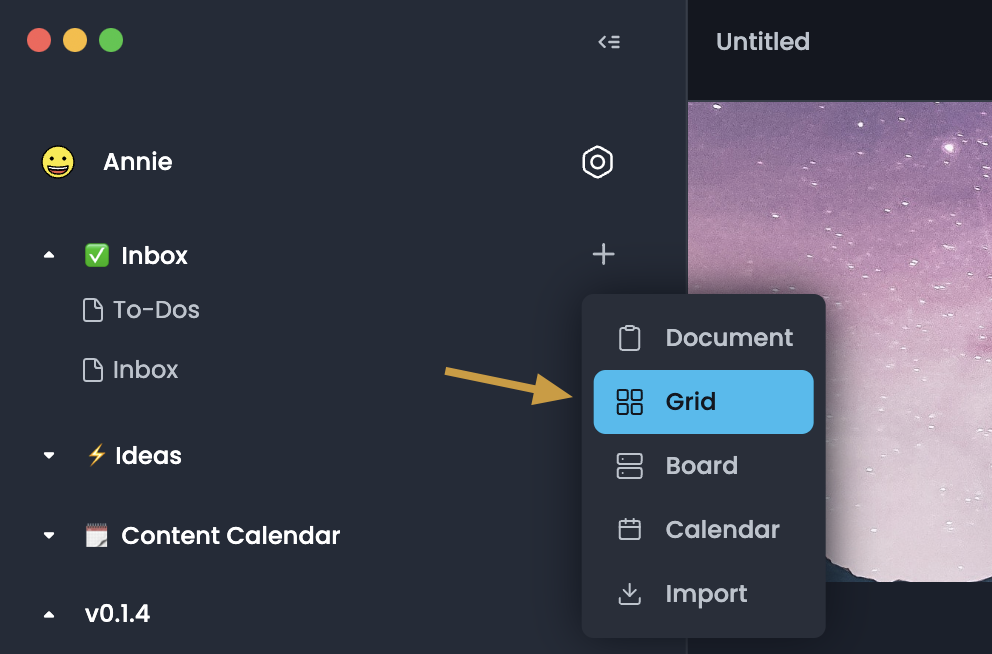
1. Click on the `+` icon next to a page, then select "Grid"
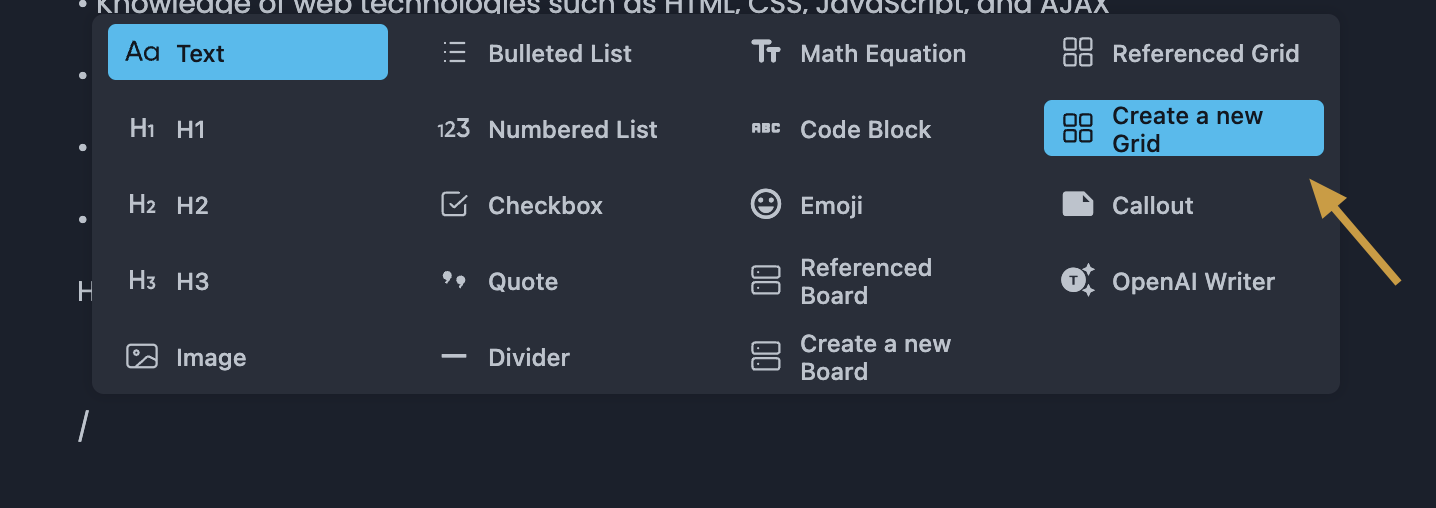
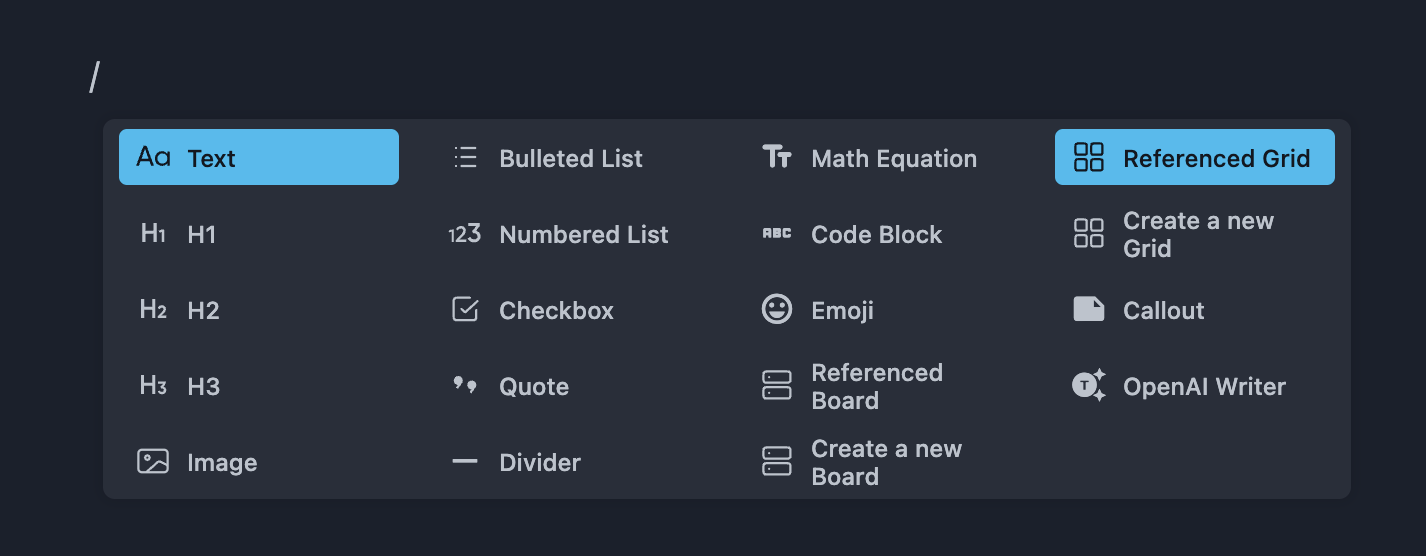
2. Create one inside a page. Type `/` to open up the menu. Select `Create a new Grid`
## Rows
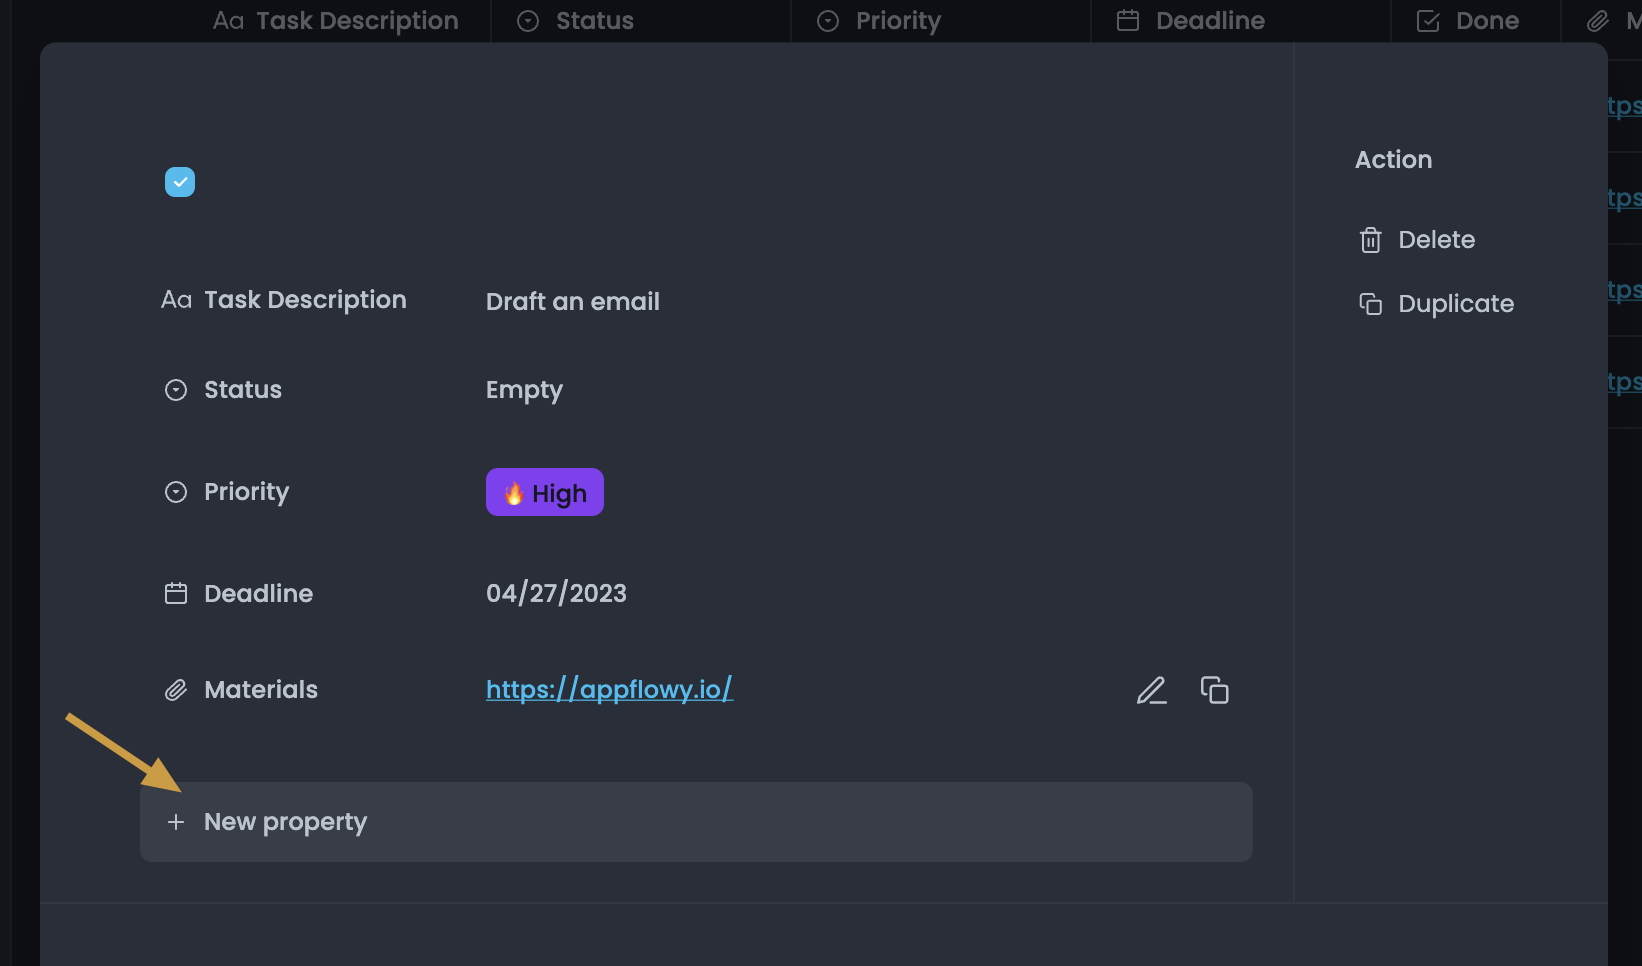
Every row in a database is a page. You can open a row as a page to edit properties or enter values.
* Hover over a row and click the `Open as a Page` button

* You will see all the properties organized at the top.
* Click on the property name to edit it or its type.
* Click in the property field to edit its content.
* Learn more about how to [manage properties](https://docs.appflowy.io/docs/~/changes/m6N8vk400Qj23REmHprl/essential-documentation/databases/manage-properties).
* You can also add a new property to your database by clicking `+ New property`.
* You can perform `Delete` and `Duplicate` on the current row.
* `Delete`: delete this row
* `Duplicate:` duplicate this row
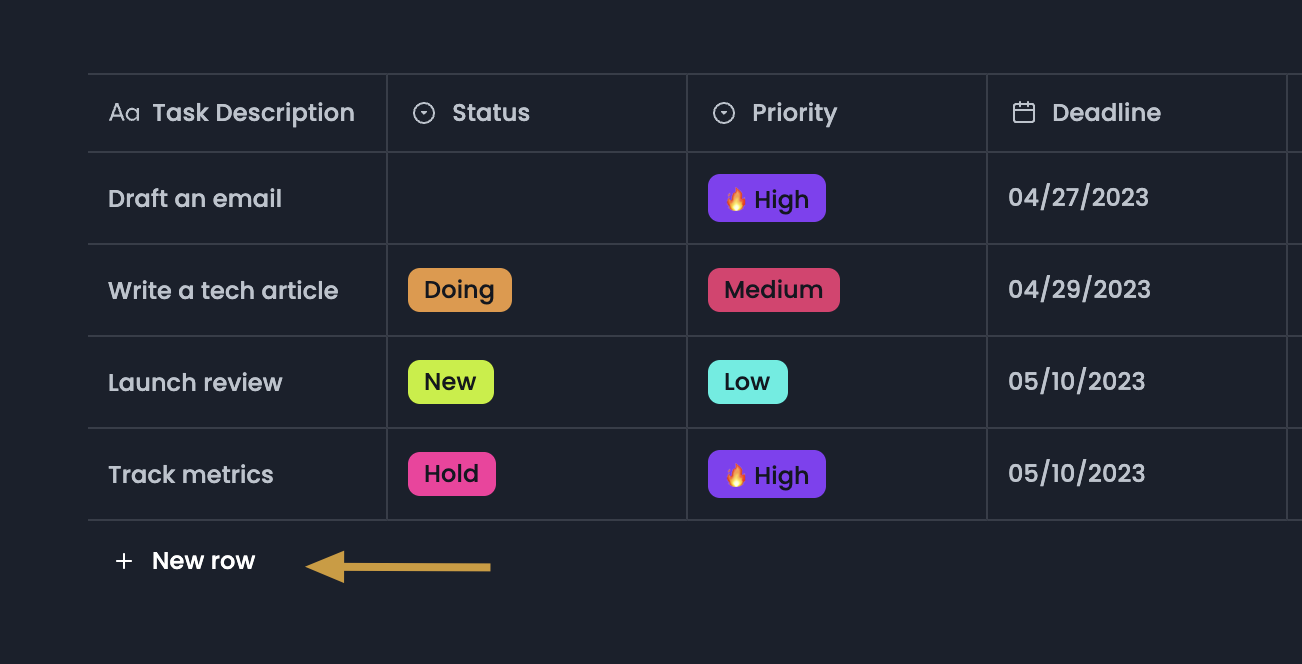
### Add Rows
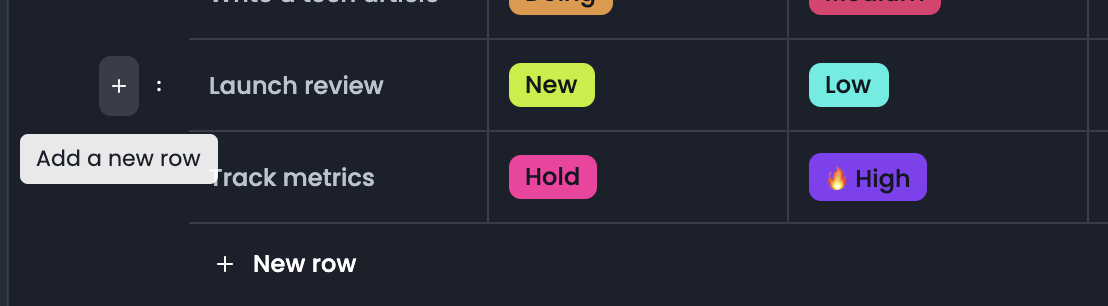
* Click the `+` that appears on hover next to any row. This creates a new row below it.
* Click `+ New` at the bottom of your table to add a new row right there.
### Row Options
Click the :: icon that appears on hover to the left of each row to bring up this menu of options:
* `Delete`: Deletes the row from your list.
## Customize your table
### Edit table properties
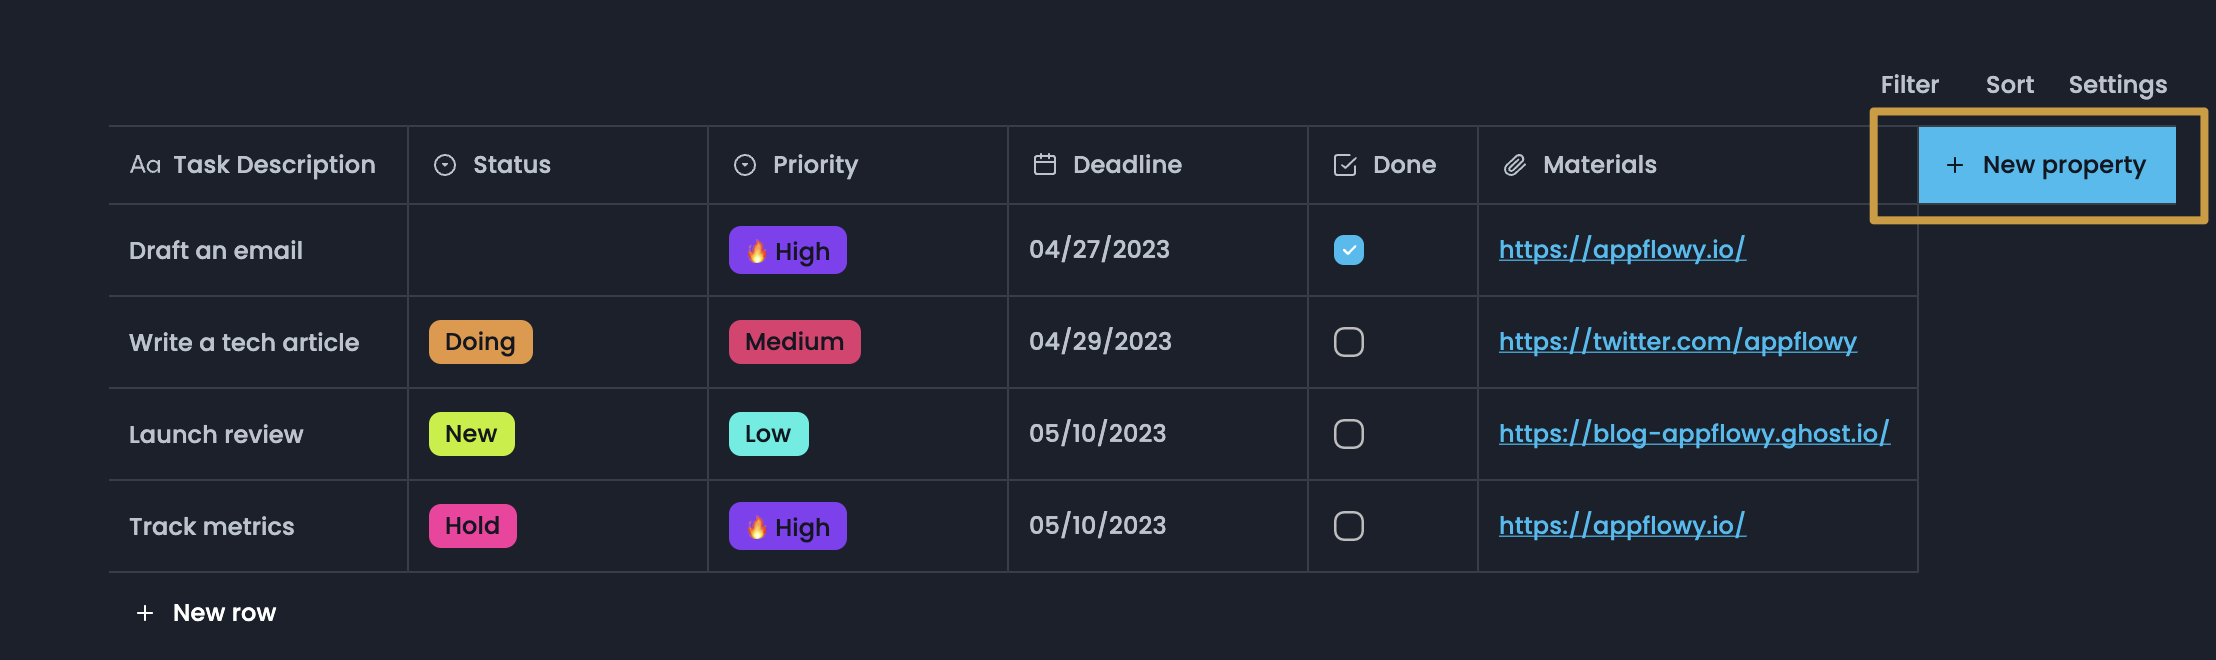
#### Add a property
* Click the `+` all the way to the right of your last column.
* Open row as a page and then click `+New Property`
* Learn more about how to [manage properties](https://docs.appflowy.io/docs/~/changes/m6N8vk400Qj23REmHprl/essential-documentation/databases/manage-properties).
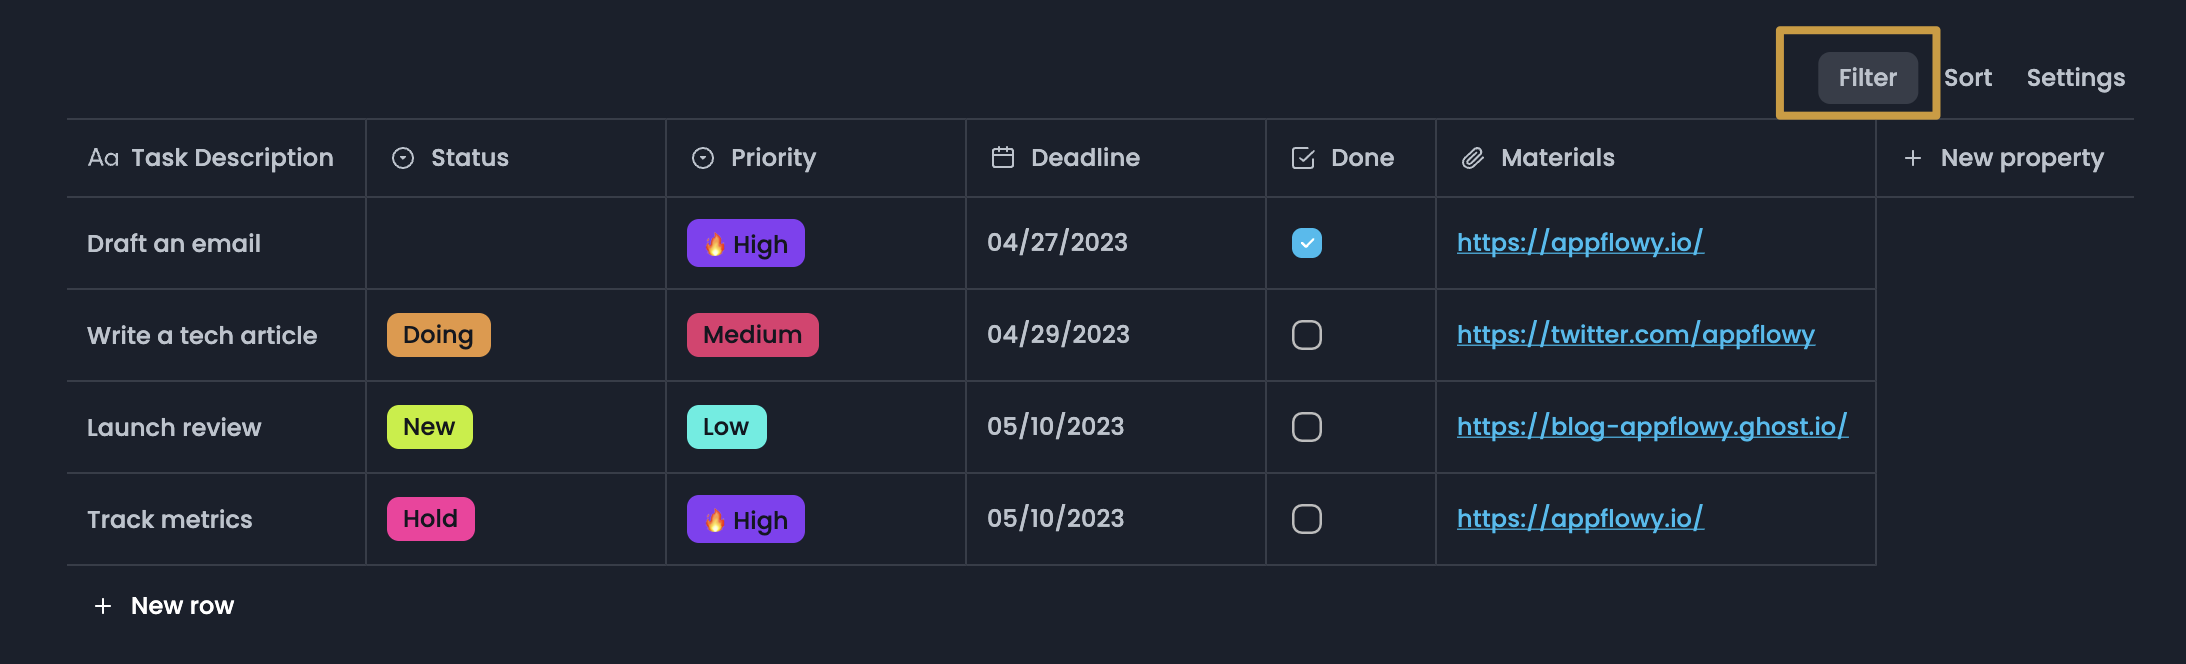
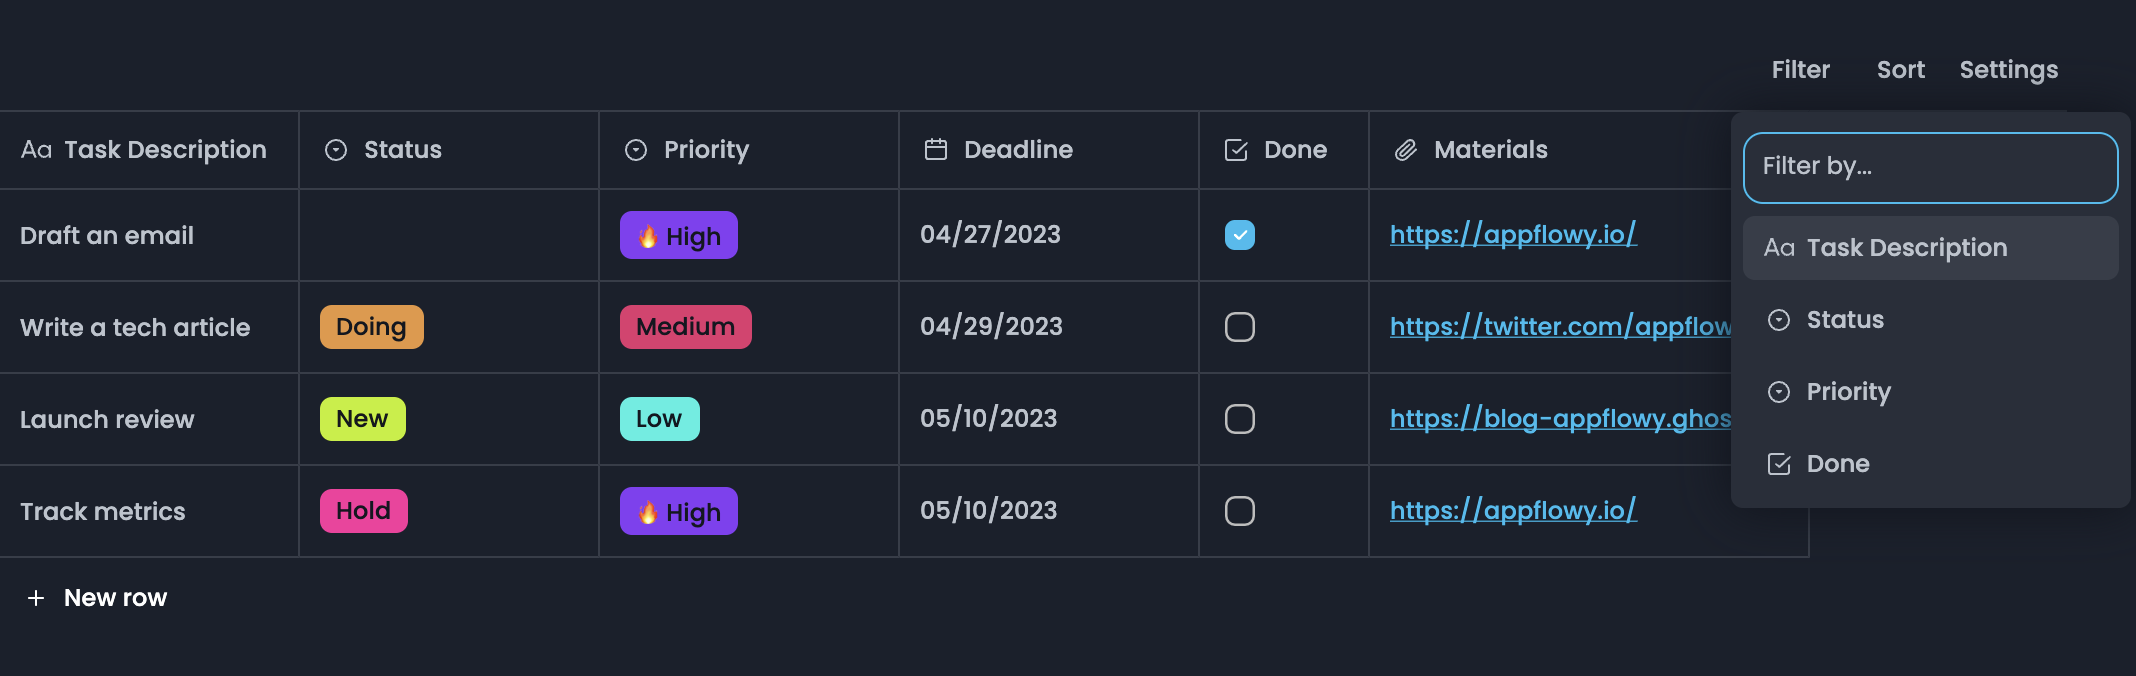
## Filter
View only the rows that fit certain criteria.
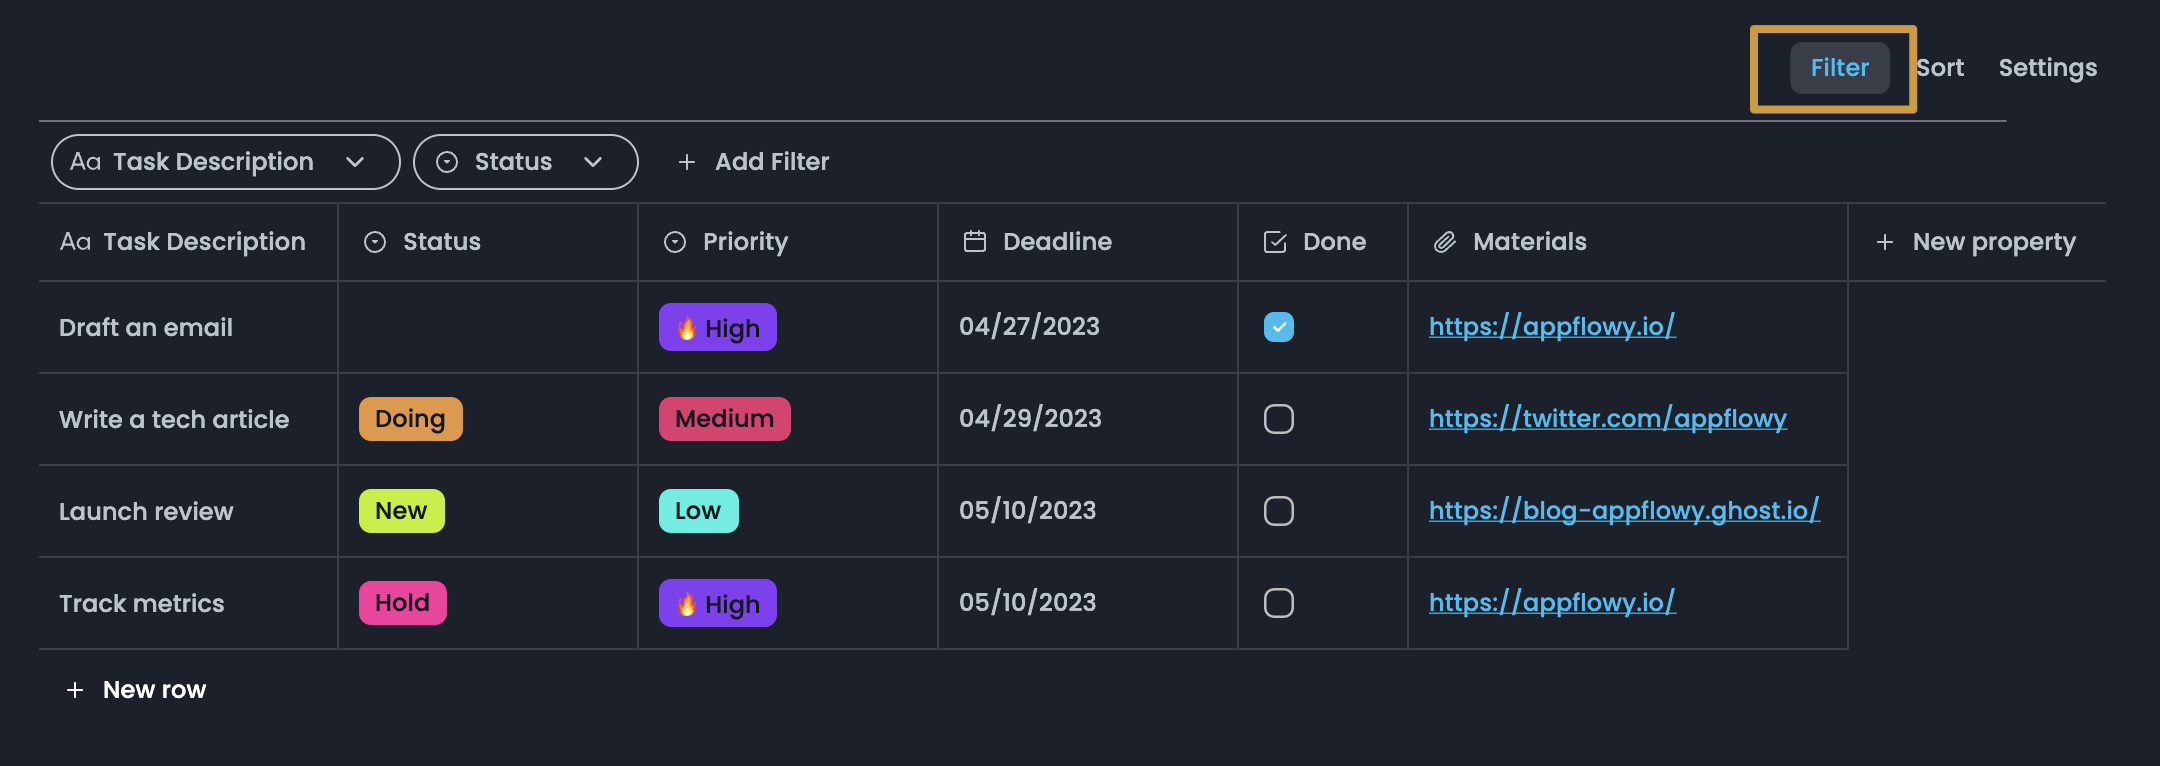
* Click `Filter` at the top right of your table.
* Choose which property you want to filter by from the dropdown.
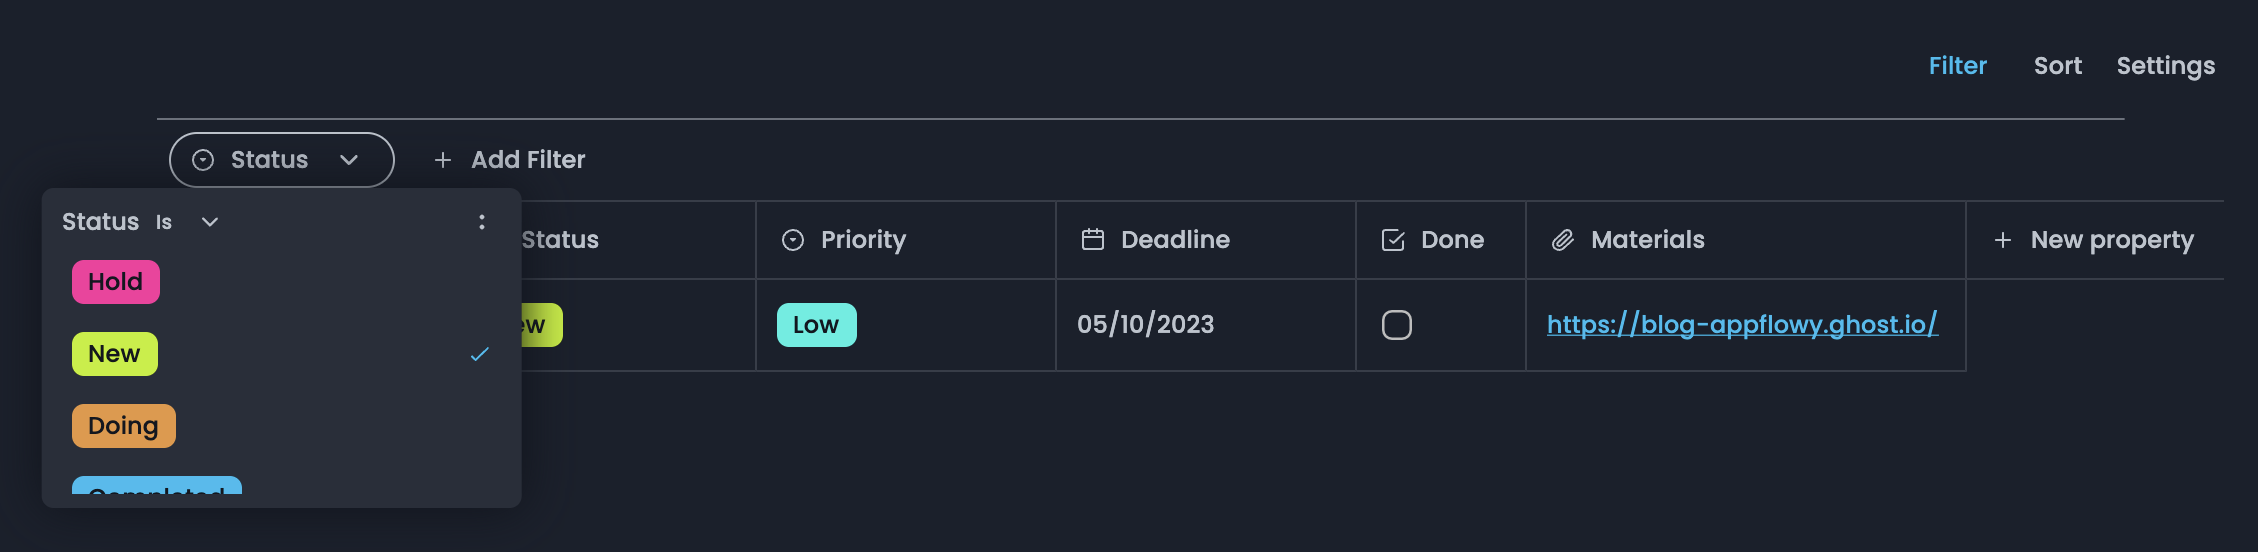
* Choose the condition you want to use, i.e. `is`, `is not`, etc.
* Define the value of the property you want to see, i.e. a specific tag or contains certain words.
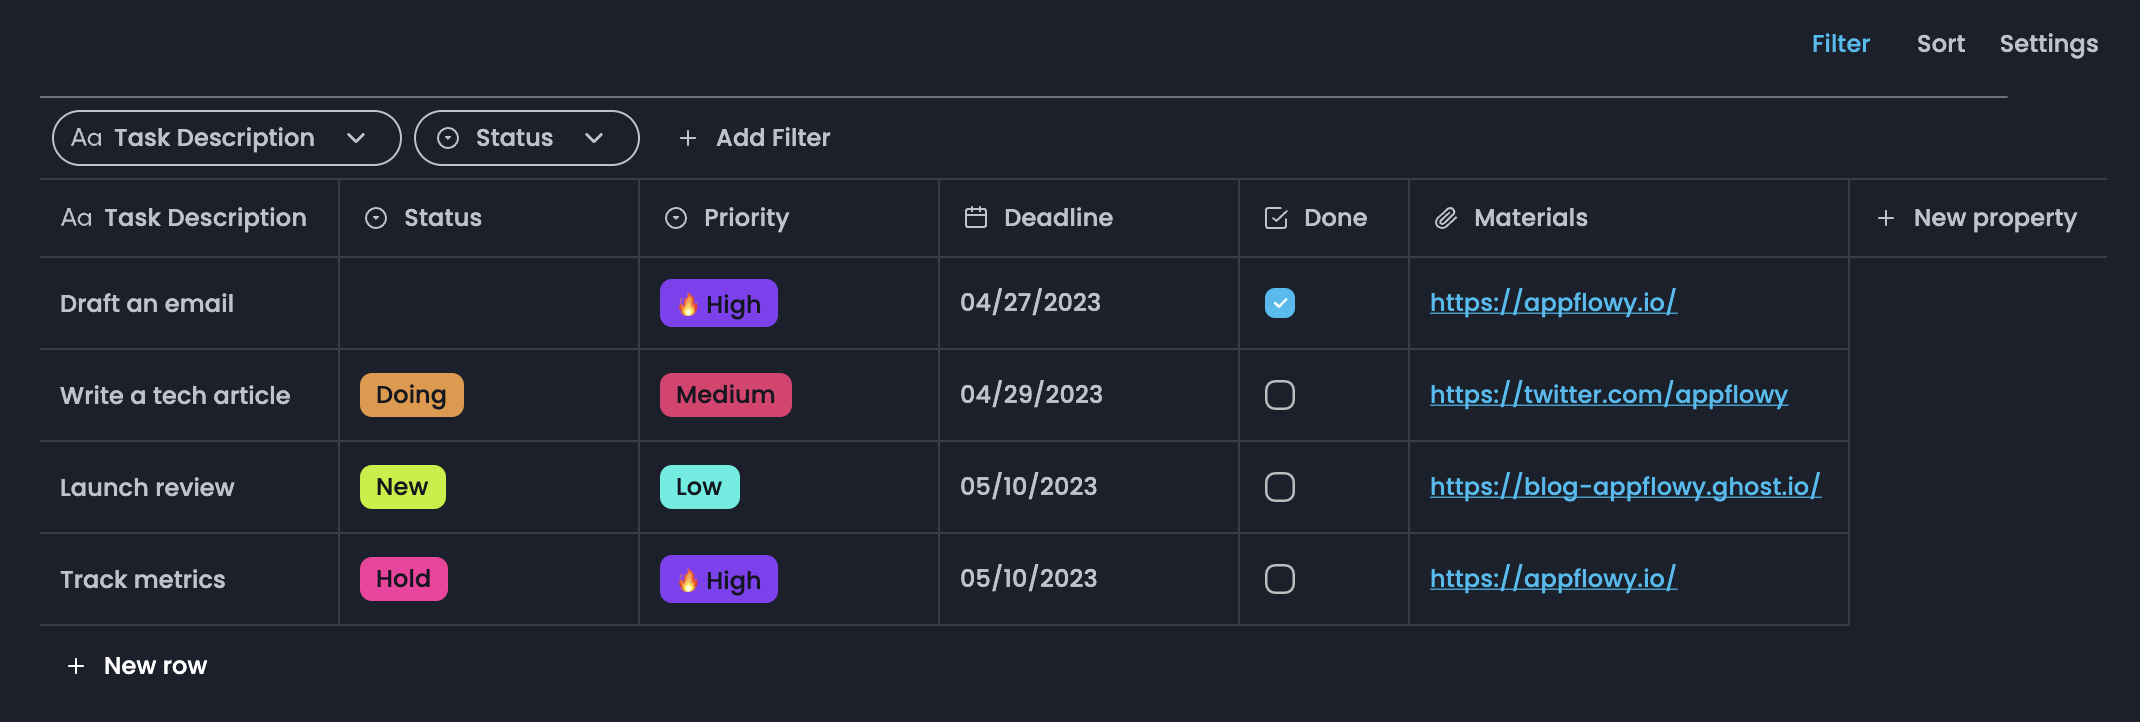
* You can add multiple filters.
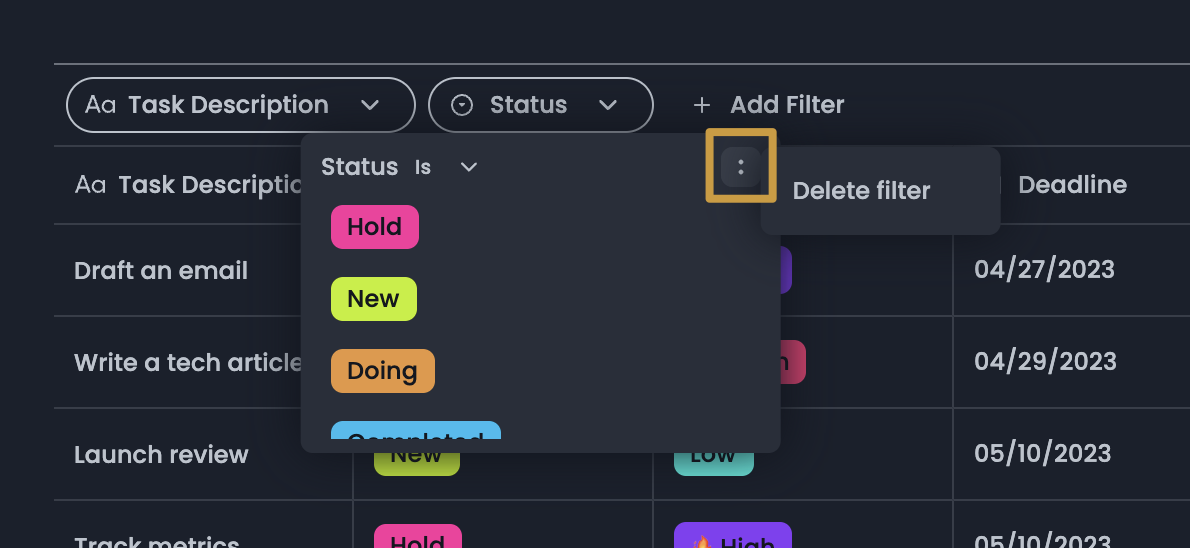
* Click `Filter` again to hide or show filters
* Remove a filter by clicking on the filter and then the `:` menu
## Sort
When you sort your data by any property in `Ascending` or `Descending` order, all the data from that row will travel together automatically.
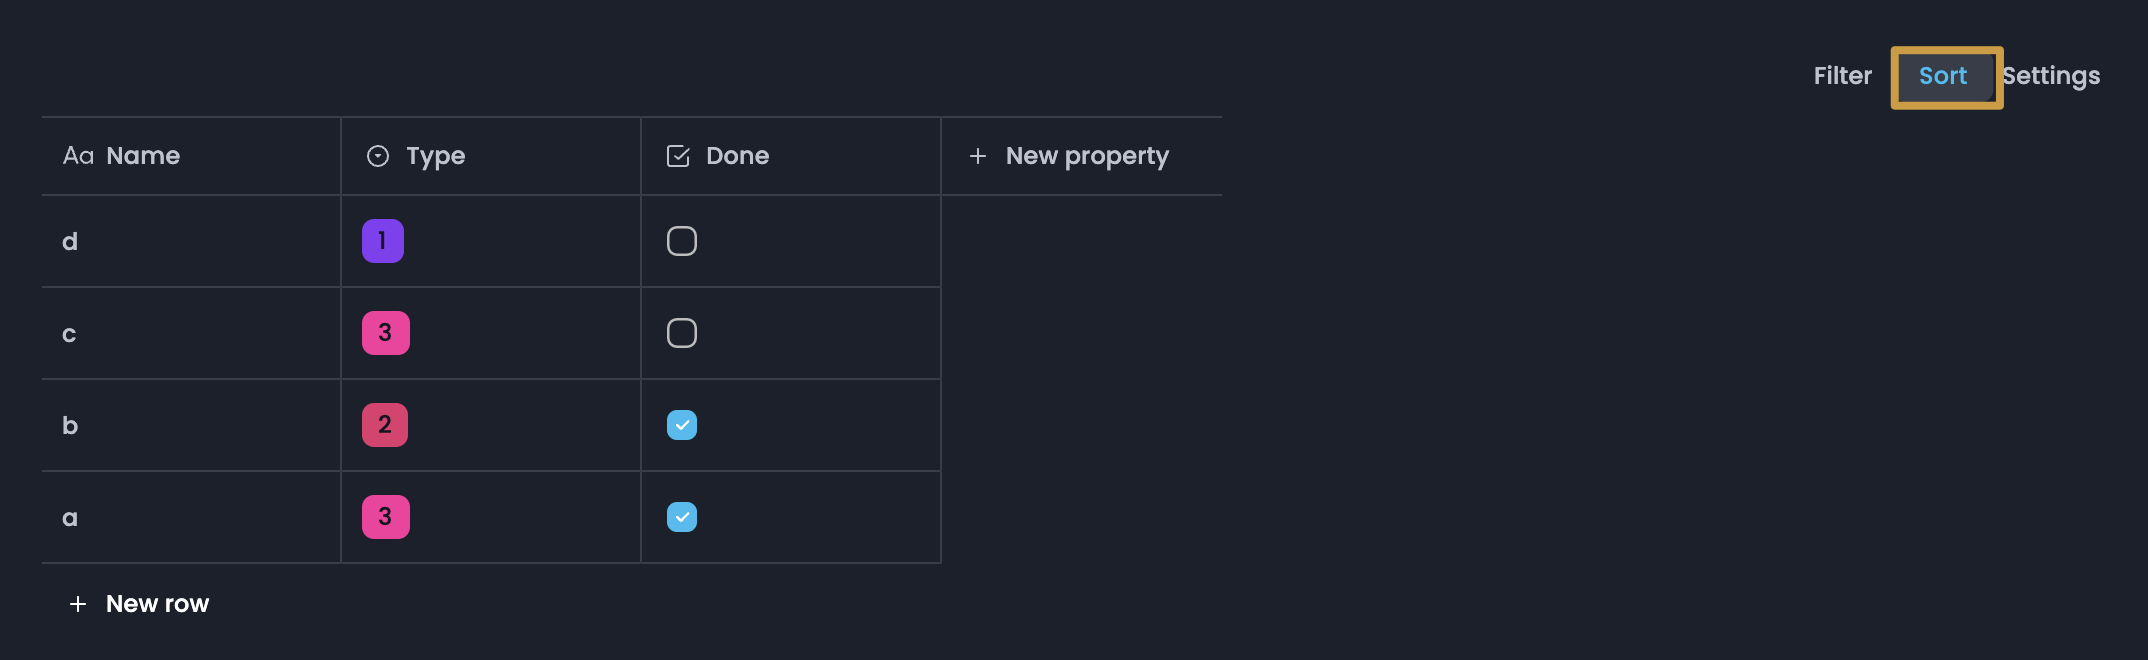
* Click `Sort` at the top right of your table.
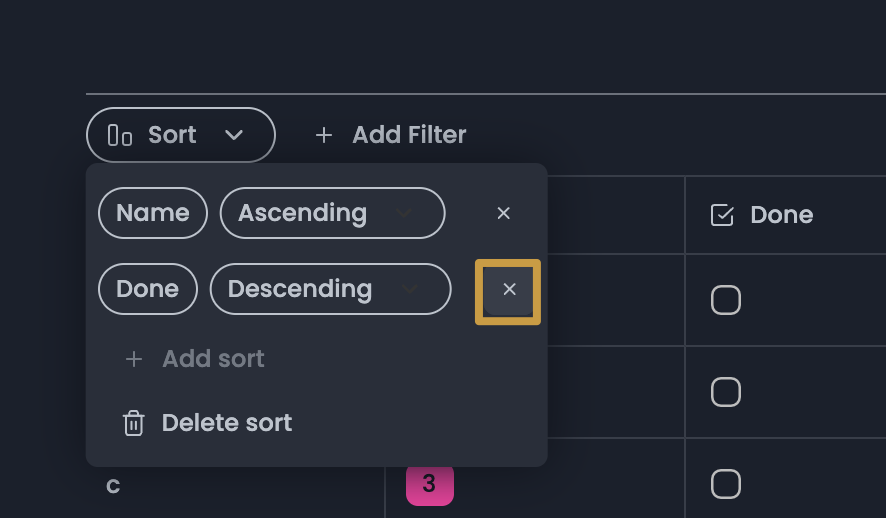
* Choose the property you want to sort by, then choose `Ascending` or `Descending`. You'll see your table rearrange in real time.
* You can add multiple sorts to a table, with sorting criteria taking precedence based on their order in the list.
* Remove sorts by clicking the X icon in the Sort menu next to them.
## Linked View of Database
You can add an existing view of database to a page. Type `/` to open the slash menu.
Select `Referenced Grid`\` to link an existing table-view database.
Property value changes you made to the linked view will sync back to the original database.